Some people like to add something soft to a room that has a plain concrete slab.
A floor made of concrete isn’t the most attractive or comfy choice. Here’s something that could go wrong if you want to finish the basement and make it cozier.
Wood floors are a great way to give your home’s floors a natural look. This is different from concrete because it has a nice, soft step and a warm feel that is great for a sitting area.
Putting down wood flooring over pavement isn’t too hard, but it needs to be done right. If you don’t take care of your floors, they could get twisted or swollen.
Installing Wood Flooring Over Concrete
To keep your wood floors safe, you should do everything you can. Water from the ground can seep through concrete and out through the wood.
To make sure this doesn’t happen, you should do the following:
- Clean the slab
- Set up a shield against water.
- Put down a ¾” wooden subfloor.
- Put down the wood floors.
Why should wood flooring be used instead of concrete?
Wood flooring is better than concrete flooring in a number of ways, which is why many homes and interior designers choose it. To begin, wood flooring makes any room look warmer and cozier than concrete floors ever could. Wood is also softer than concrete, making it a more easy and forgiving surface to walk on.
Wood flooring is also better at keeping the temperature in your home stable, which could help you save money on your energy bills. It’s important to note that wood is a reusable resource, which makes it a good choice for the environment. On the other hand, making concrete can use a lot of resources.
Also, wood flooring can be sanded down and refinished to make it look new again, while concrete may need major fixes that cost a lot of money. Overall, wood flooring is a better choice for many homes than concrete because it lasts longer, looks better, is more comfortable, and keeps heat in.
Guide to Installing Wood Flooring on a Concrete Floor
Putting wood flooring over a concrete base can make a big difference in the look and feel of the room. To make sure the process goes well, follow this complete guide:
1. Evaluate the Concrete Subfloor:
- See if there is moisture: Use a moisture meter to check the amounts of moisture in the concrete and make sure it is dry.
- Fix problems like cracks and flaws: Use the right patching material to fix any holes or cracks and then smooth out the surface.
2. Gather Materials and Tools:
Wood flooring you have concrete under your wood floors, you can use engineered wood or laminate flooring.
- Moisture barrier: If you’re worried about dampness, you might want to use a vapor barrier.
- Underlayment: Put down an underlayment to protect against wetness and provide cushioning.
- Fasteners or glue: You may need glue, nails, or screws, depending on the type of wood floors you have.
- Cut and measure tools: Get a saw, a tape measure, and spacers ready, among other things.
- Safety gear: To stay safe, wear safety glasses, gloves, and a dust mask.
3. Acclimate the Wood:
Allow the wood flooring to acclimate to the room’s temperature and humidity for at least 72 hours before installation.
4. Prepare the Subfloor:
- Clean the concrete: Remove debris, dust, and any adhesive residues.
- Install a moisture barrier: If needed, lay down a moisture barrier to prevent moisture migration into the wood flooring.
- Lay the underlayment: Install an underlayment, such as foam or cork, to create a moisture barrier and provide cushioning.
- Clean the concrete: Clean the pavement by getting rid of any dirt, dust, or adhesive that is still on it.
- Put down a moisture barrier: If you need to, put down a moisture barrier to stop water from getting into the wood floors.
- Lay the underlayment: To keep water out and add padding, put down an underlayment made of foam or cork.
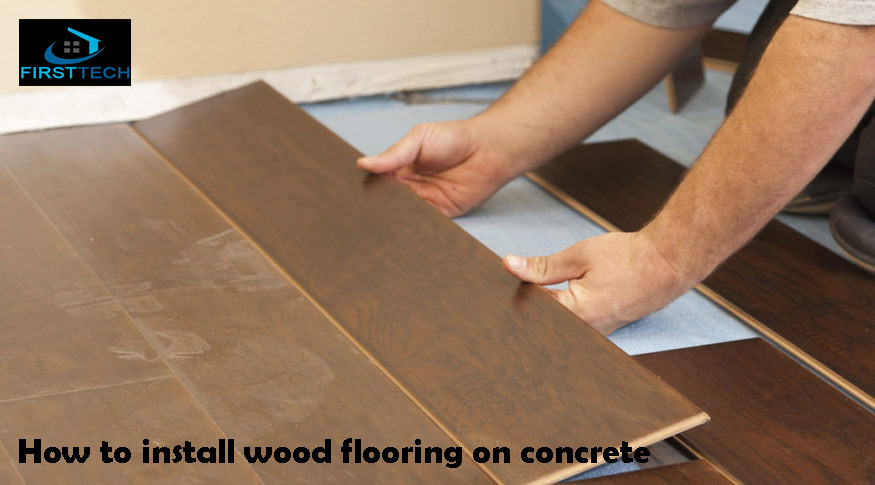
5. Start Installation:
Figure out the best way to install it: You can place your floor in a floating, glued-down, or nail-down way, depending on the type of floor you have.
Follow the directions from the manufacturer: There are specific steps for installing each type of wood flooring, so make sure you follow them carefully.
6. Complete the Installation:
Put the boards together: Use spacers to keep the growth gaps between the planks and make sure they fit tightly together.
Finish and trim: Cut the last row of planks to fit, and then put in baseboards or trim to fill in the gaps caused by growth.
7. Post-Installation Care:
Let the glue dry: If you used glue, give the floor the time it says to for it to dry.
Install transition strips: Put down transition strips. You can use these in doorways or between types of floors.
Maintenance checks: To keep your wood floor looking nice and lasting a long time, keep it clean and in good shape.
By following these steps and the manufacturer’s instructions, you can place wood flooring on a concrete subfloor in a way that looks good and lasts a long time. This will make your space look better and feel better.
Conclusion
Lastly, putting wood flooring over a concrete subfloor can be a fun and useful home improvement job that makes the room cozier, more attractive, and worth more. Paying close attention to details and carefully planning is needed. You can get a beautiful and long-lasting wood floor by checking out the concrete base, picking the right materials, letting the wood soak up the moisture, and installing it the right way.
Focus on safety, measure and cut carefully, and carefully follow the manufacturer’s directions. After installation, proper care and upkeep are necessary to keep your wood flooring looking good and lasting a long time.
If you are patient and know what you’re doing, you can turn a concrete surface into a warm and stylish wood floor that will make your home look better and feel better for years to come.